


Background and
Introduction :
Hi - and welcome to the shack construction project page.
The background to this project was quite simple, we moved home in August 2008
and after 16 years of operating just mobile or portable, I decided to build
myself a shack and operate from there when I was at home.
My XYL (The
Station Manager) was duly consulted and strategy options discussed. I could
have the shed at the bottom of the garden, but this was rejected on the grounds
of security and warmth of operating - especially in the winter months - and the
need to run a power supply out to the site.
I looked at the
possibility of using one of the back bedrooms, especially as this would keep
feeder lengths etc at a minimum. This was rejected by the station manager on
gounds of noise - especially in the small hours if I was doing something like
contesting.
So a compromise was agreed upon. I was granted a space
at the back of the house where I could set up the station, but only on condition
that the beer fridge and tumble dryer were housed in there too !! After a lot
of careful planning (space planning and asset positioning, cable routing and
ducting in my rather odd-shaped allocated space), taking account of the
available supplies and things to avoid (like water pipes) I reckoned I was set
to go.
As with all these types of project, nothing is quite as it
seems at first glance. I had spent a lot of time getting the space planning
done, only to find that when the workbench arrived, it was just too big for the
originally allocated space. And the station manager didn't like it there
because of obstruction issues. So version two of the space planning model was
iterated with the workbench (an essential in any shack for those unexpected
failures) was created.
Once the layout was approved by the station
manager, I had the task of preparing the area. The walls were desparately in
need of painting before any of the shack construction work could begin in
earnest, so having removed any major protrusions left by the previous owners, I
set about the painting task, having selected a nice shade of colour as the
background to the shack.
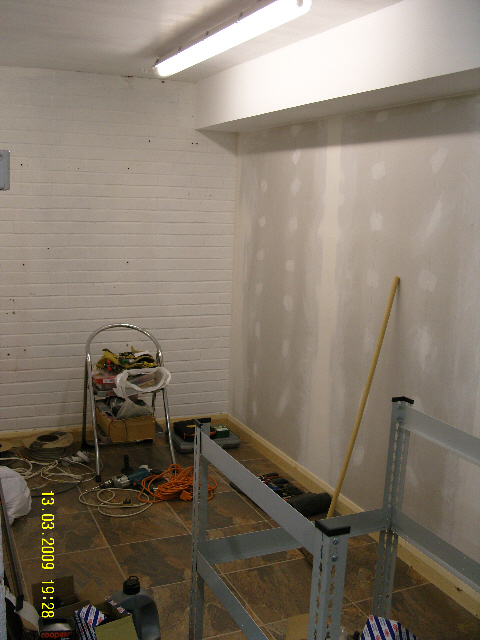
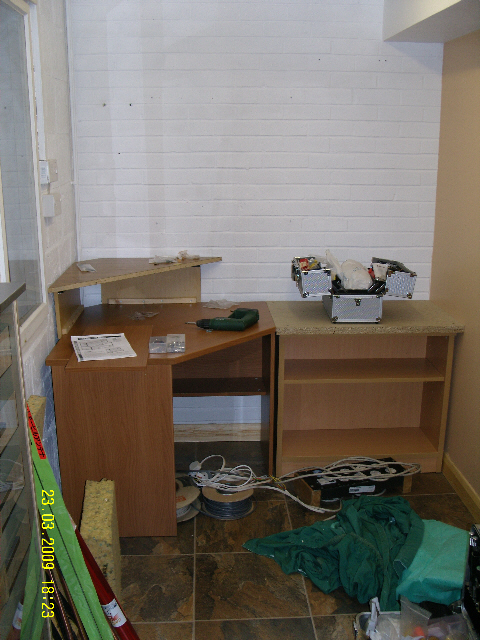
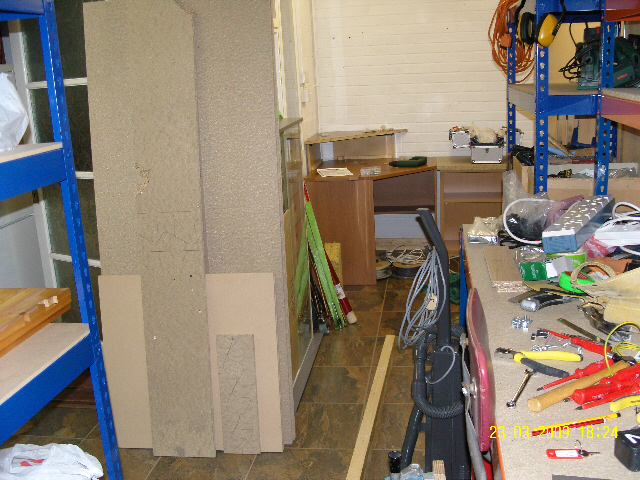
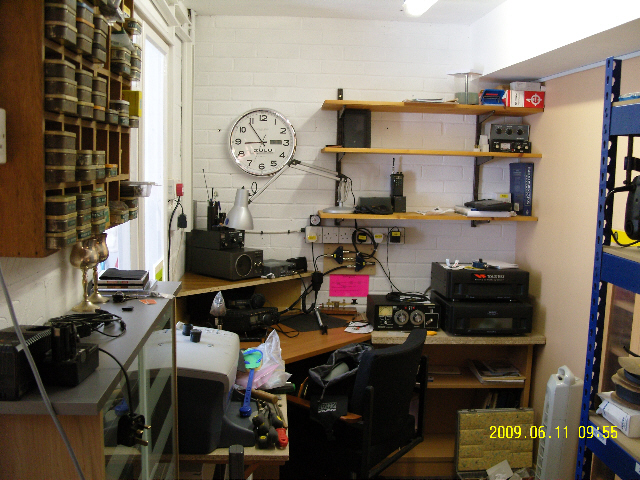
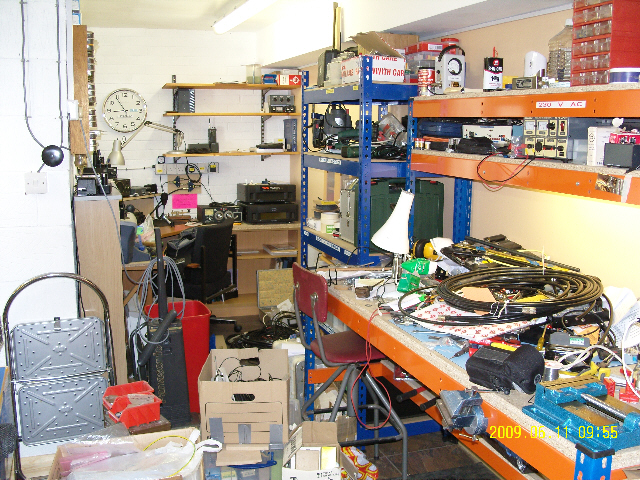
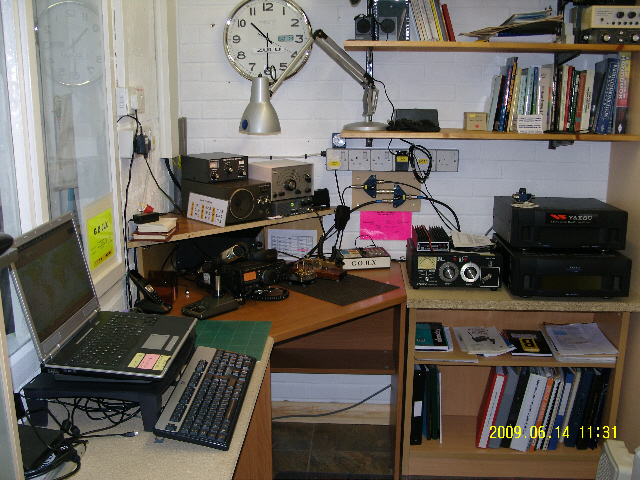
The next few pictures show the progression of
the shack construction work, and will show how, over a period of about 6 weeks I
went from absolutely nothing to a usable shack area.
So, after all the total chaos of getting the basic infrastructure ready, painting walls, installing ducting inside and out, putting up shelving etc, all the feeders are ducted, all the main power routes are ducted separately from the feeders and RCD'd, the workbench is fed separately from the shack and RCD'd, a clean 4mm station RF earth is installed, the generator interface point is outside for those long periods of lost mains supply to keep the station running normally for as long as it takes the supplies to be restored, and the antennas are installed. Phew. Now I just have a few boxes to unpack to find my 600W load !!
Just before I close this page, it is only fitting and right that I should mention Geoff, G4ICD, and his excellent G-Whip base station, which has come to my rescue as an excellent HF antenna in my back garden before I erect the full beast. This G-Whip base station is much heavier than the Buddipole mentioned elsewhere on this site, and is great for putting in the back of the landy and deploying for RAYNET HF type links if I don't take the Taheel mobile or the Bandspringer !

Page last updated on 3rd July 2009